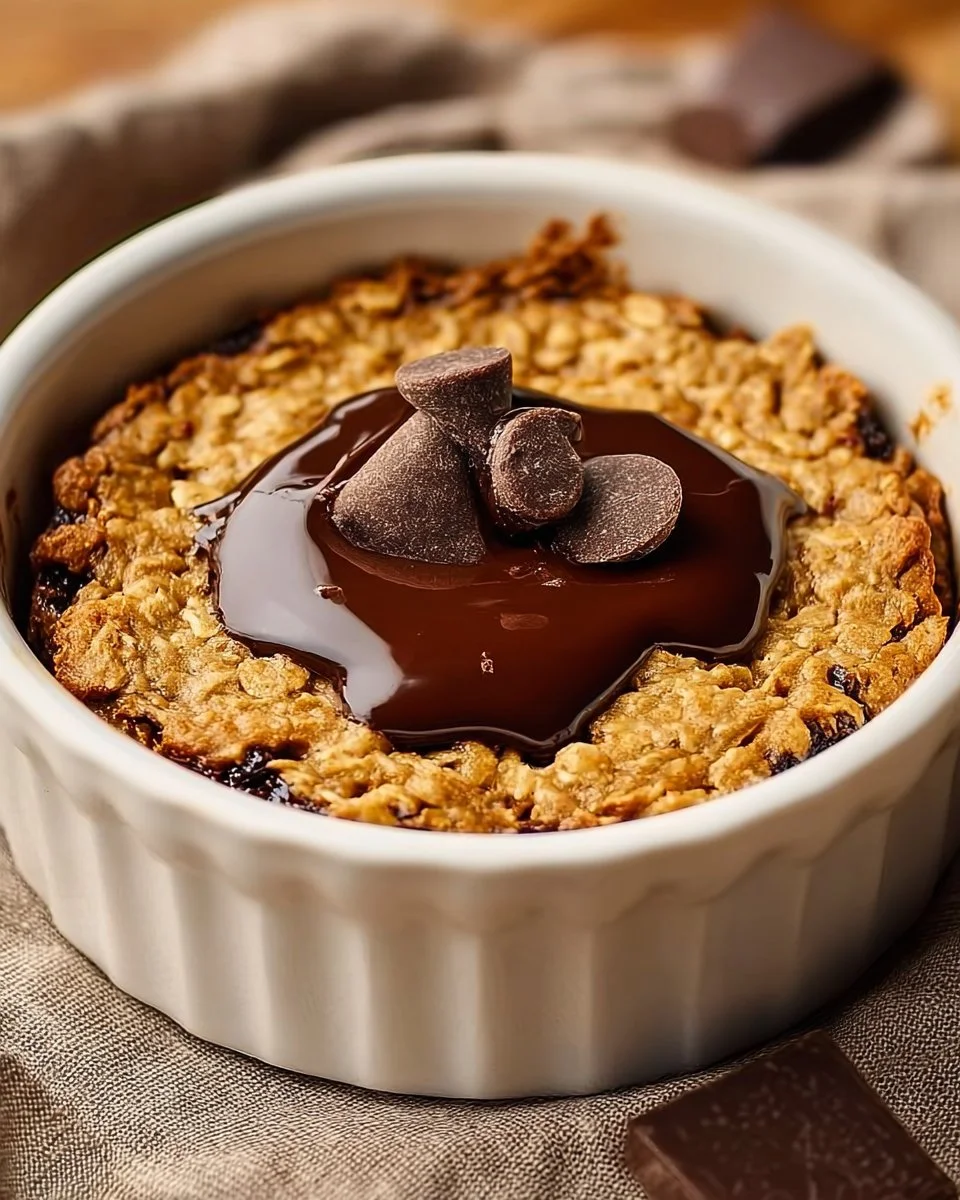
Peanut Butter & Chocolate Baked Oats for a Cozy Morning Boost
Why Make This Recipe
Peanut Butter & Chocolate Baked Oats is the perfect start to your day. If you want to transform your morning routine, this recipe is the answer. Not only is it delicious, but it combines the goodness of oats with creamy peanut butter and sweet chocolate, making it a wholesome breakfast that you and your family will love.
Baked oats bring a cozy feeling that warms you from the inside out. Plus, they are easy to prepare in advance, so you can enjoy a warm, hearty breakfast even on the busiest mornings. This recipe is perfect for satisfying your cravings without sacrificing nutrition. Oats are packed with fiber, while peanut butter offers protein and healthy fats. Together, they create a balanced meal that will keep you energized through your morning.
Additionally, this recipe can be easily customized to fit different diets or preferences. Whether you need it vegan, gluten-free, or high-protein, these baked oats can cater to various dietary needs.
So, roll up your sleeves, grab your apron, and let’s get started with this delightful breakfast treat!
How to Make Peanut Butter & Chocolate Baked Oats
Making Peanut Butter & Chocolate Baked Oats is straightforward and fun. You will be delighted by how quickly you can whip this up. The process is simple and requires minimal equipment, making it accessible for anyone. Let’s dive into the step-by-step instructions!
Ingredients:
- 2 cups Old fashioned oats
- 1 cup Oat milk
- 1 cup Peanut butter (creamy or crunchy)
- 1/2 cup Applesauce
- 1/4 cup Agave or honey
- 2 teaspoons Baking powder
- 1 teaspoon Vanilla
- 1/2 teaspoon Salt
- 1/2 cup Protein powder (optional)
- 1/2 cup Mini chocolate chips
- 2 tablespoons Additional peanut butter (for drizzling)
- 1 square Chocolate square
- 1/4 cup Extra chocolate chips
Directions:
-
Preheat the Oven: Start by preheating your oven to 350°F (175°C). This ensures your baked oats will cook evenly.
-
Prepare Your Baking Dish: Grease an 8×8-inch baking dish with cooking spray or a little extra peanut butter to prevent sticking.
-
Combine Dry Ingredients: In a large mixing bowl, mix the old-fashioned oats, baking powder, salt, and optional protein powder. Stir well to make sure everything is evenly distributed.
-
Mix Wet Ingredients: In a separate bowl, combine the oat milk, peanut butter, applesauce, agave or honey, and vanilla. Stir until the mixture is smooth and well combined.
-
Combine Wet and Dry Mixtures: Pour the wet ingredients into the dry ingredient bowl. Mix everything together until combined. The mixture should look thick but manageable.
-
Add Chocolate Chips: Gently fold in the mini chocolate chips. This will distribute the chocolate evenly throughout your baked oats.
-
Transfer to Baking Dish: Pour the mixture into the prepared baking dish. Use a spatula to spread it evenly.
-
Bake: Place the baking dish in the preheated oven and bake for 30-35 minutes. The edges should be golden, and the center should be set.
-
Prepare Toppings: While the oats are baking, melt the chocolate square in the microwave or on the stovetop until smooth. This will be used for drizzling.
-
Cool and Drizzle: Once baked, take the dish out of the oven and allow it to cool for a few minutes. Drizzle the additional peanut butter and melted chocolate over the top for an extra treat.
-
Slice and Serve: Cut into squares and serve warm. You can add extra toppings like berries or sliced bananas if desired.
How to Serve Peanut Butter & Chocolate Baked Oats
Serving Peanut Butter & Chocolate Baked Oats is just as enjoyable as making them. You can serve these baked oats straight from the baking dish or on individual plates. Here are a few ideas on how to enhance your serving experience:
-
Toppings Galore: Feel free to top your baked oats with fresh fruits like strawberries, bananas, or blueberries. Drizzling some more peanut butter or chocolate sauce can elevate the flavor even further.
-
Pair with Yogurt: A dollop of yogurt can add creaminess and a tangy taste to your dish while also boosting the protein content.
-
Breakfast Bowls: You can crumble the baked oats into a bowl and serve with some milk or plant-based milk poured over the top for a different texture.
-
Warm or Cold: These baked oats can be enjoyed warm right out of the oven or cold from the fridge.
-
On-the-go Option: If you need a quick breakfast, slice the baked oats into squares, wrap them, and take them with you as a tasty grab-and-go meal.
How to Store Peanut Butter & Chocolate Baked Oats
Storing your Peanut Butter & Chocolate Baked Oats is easy and allows you to enjoy the leftovers throughout the week. Here’s how to keep them fresh:
-
Cool Completely: Before storing, allow the baked oats to cool completely at room temperature.
-
Refrigerate: Place the cooled baked oats in an airtight container. You can keep them in the fridge for up to 5 days.
-
Freeze for Longer Storage: If you want to keep your baked oats for a longer time, you can freeze them. Cut the baked oats into squares and place the pieces into a freezer-safe bag or container. They can last for up to 3 months in the freezer.
-
Reheat Easily: When you’re ready to enjoy your baked oats, simply take out a square and reheat it in the microwave for about 30-60 seconds or until warmed through.
Tips to Make Peanut Butter & Chocolate Baked Oats
-
Use Overripe Bananas: For added sweetness, you can mash a ripe banana into the mixture. It will complement the flavors of peanut butter and chocolate wonderfully.
-
Mix Up the Sweeteners: If you prefer, you can substitute agave with maple syrup or coconut nectar. Each option adds a unique flavor.
-
Add Nuts or Seeds: Mixing in some chopped nuts or seeds can add extra crunch and health benefits to your baked oats.
-
Adjust Sweetness: Consider adjusting the sweetener amount based on your taste preferences. You can reduce it if you prefer less sweetness.
-
Experiment with Flavors: Feel free to experiment with other extracts, such as almond or hazelnut, to add different flavor profiles.
Variation
-
Gluten-Free: Simply choose certified gluten-free oats to make this recipe gluten-free.
-
Vegan Option: As it is, this recipe can be made vegan by using plant-based milk and omitting the protein powder, or by using a vegan version.
-
Nut-Free Version: For a nut-free version, substitute peanut butter with sun butter or a seed butter like tahini.
-
Chocolate Lovers: If you love chocolate, feel free to add some cocoa powder to the wet mixture, which will enhance the cocoa flavor in your baked oats.
FAQs
1. Can I use quick oats instead of old-fashioned oats?
You can use quick oats, but the texture will be different. Quick oats absorb liquid faster and may become mushy when baked.
2. Can I make these baked oats ahead of time?
Yes! These baked oats can be made a day or two ahead and stored properly in the fridge. They are perfect for meal prep.
3. Can I substitute the peanut butter with another kind of nut or seed butter?
Absolutely! You can use almond butter, sunflower seed butter, or any butter that you prefer.
4. How do I know when the baked oats are done?
The baked oats are done when the edges are golden, and the center is set. You can poke the center with a toothpick; if it comes out clean, it’s finished baking.
5. Can I add more chocolate chips?
Definitely! Feel free to increase the amount of chocolate chips to satisfy your sweet tooth.
6. What can I do if my baked oats come out dry?
If your baked oats come out dry, consider adding more liquid the next time you make them or ensure they don’t bake too long. Adding toppings like yogurt or a drizzle of milk can also help make it more moist.
With this easy and delicious recipe, you’ll be equipped to create a warm and inviting breakfast that can energize your mornings. Enjoy every hearty bite of your Peanut Butter & Chocolate Baked Oats as you embrace a cozy start to your day!
PrintPeanut Butter & Chocolate Baked Oats
A wholesome breakfast combining oats, creamy peanut butter, and sweet chocolate, perfect for busy mornings.
- Prep Time: 15 minutes
- Cook Time: 35 minutes
- Total Time: 50 minutes
- Yield: 4 servings 1x
- Category: Breakfast
- Method: Baking
- Cuisine: American
- Diet: Vegetarian
Ingredients
- 2 cups Old fashioned oats
- 1 cup Oat milk
- 1 cup Peanut butter (creamy or crunchy)
- 1/2 cup Applesauce
- 1/4 cup Agave or honey
- 2 teaspoons Baking powder
- 1 teaspoon Vanilla
- 1/2 teaspoon Salt
- 1/2 cup Protein powder (optional)
- 1/2 cup Mini chocolate chips
- 2 tablespoons Additional peanut butter (for drizzling)
- 1 square Chocolate square
- 1/4 cup Extra chocolate chips
Instructions
- Preheat your oven to 350°F (175°C).
- Grease an 8×8-inch baking dish with cooking spray or peanut butter to prevent sticking.
- In a large mixing bowl, mix old-fashioned oats, baking powder, salt, and optional protein powder.
- In a separate bowl, combine oat milk, peanut butter, applesauce, agave or honey, and vanilla until smooth.
- Pour the wet ingredients into the dry ingredient bowl and mix until combined.
- Gently fold in the mini chocolate chips.
- Pour the mixture into the prepared baking dish and spread evenly.
- Bake for 30-35 minutes until edges are golden and center is set.
- Melt the chocolate square for drizzling.
- Once baked, drizzle with additional peanut butter and melted chocolate.
- Cut into squares and serve warm, optionally topped with fresh fruit or yogurt.
Notes
Store leftovers in an airtight container in the refrigerator for up to 5 days, or freeze for up to 3 months.
Nutrition
- Serving Size: 1 serving
- Calories: 350
- Sugar: 10g
- Sodium: 400mg
- Fat: 18g
- Saturated Fat: 5g
- Unsaturated Fat: 10g
- Trans Fat: 0g
- Carbohydrates: 45g
- Fiber: 5g
- Protein: 12g
- Cholesterol: 0mg