Mini Witch Hat Pizzas
Why Make This Recipe
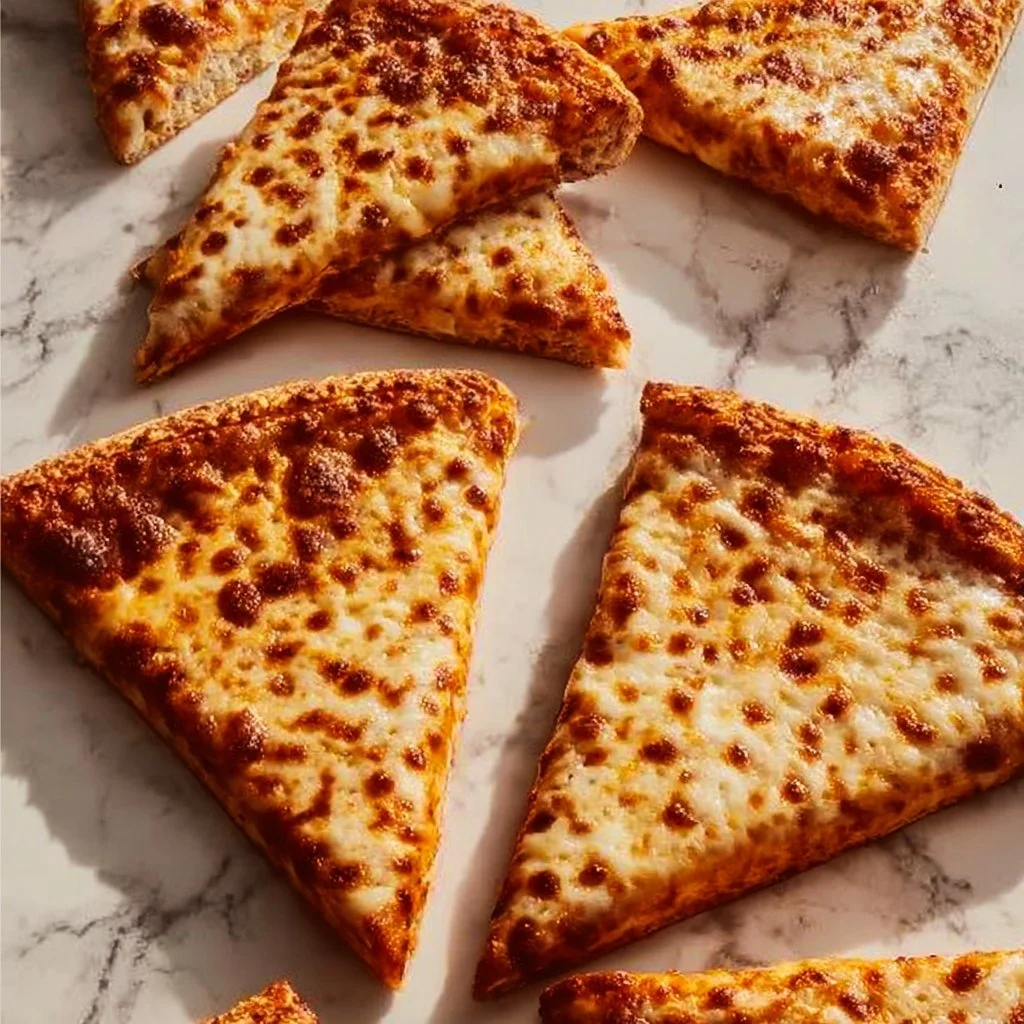
Mini Witch Hat Pizzas are the perfect spooky treat for gatherings, Halloween parties, or just a fun meal at home. They are creative, easy to make, and incredibly fun to eat. With their delightful shape resembling witch hats, these mini pizzas are a hit with kids and adults alike. You can customize them with your favorite toppings, making each pizza unique and tasty. Plus, they are simple enough that even beginner cooks can whip them up without any trouble. Not to mention, they create a memorable experience that can spark joy and bring everyone together.
How to Make Mini Witch Hat Pizzas
Making Mini Witch Hat Pizzas is a straightforward process. You only need a few simple ingredients and some time to put it all together. Let’s break it down step-by-step so you can create your own deliciously spooky snacks.
Ingredients
- Crescent dough or pizza crust
- Pizza sauce
- Cheese (shredded mozzarella or your favorite cheese)
- Olives (black olives work great)
- Pepperoni (you can cut them into shapes if you like)
- Colorful veggies (like bell peppers, mushrooms, or spinach)
Directions
-
Preheat the oven: Start by preheating the oven according to the instructions for the crescent dough or pizza crust. This step is important as it ensures your pizzas cook evenly.
-
Roll out the dough: Take the crescent dough or pizza crust and roll it out on a baking sheet. Make sure you have a flat surface to work with so the dough can stretch properly.
-
Shape the dough: Cut the rolled-out dough into triangles to resemble witch hats. Each triangle should have a wider base and a taller point, just like a traditional witch hat.
-
Spread pizza sauce: Take your pizza sauce and spread a generous amount over each triangle of dough. Don’t skip this step, as it adds delicious flavor!
-
Sprinkle cheese: Next, sprinkle shredded cheese over the sauce-covered triangles. You can use mozzarella for that classic taste, or mix in other cheeses for a fun twist.
-
Add creative toppings: Now comes the fun part! Use olives as the brim of the hat, pepperoni as decoration, or colorful veggies to bring your witch hats to life. Get creative – this is your chance to make each pizza unique!
-
Bake in the oven: Once your pizzas are ready, place them in the oven and bake until the crust is golden and the cheese is melted. Keep an eye on them, as baking times can vary.
-
Let cool slightly: After baking, allow the Mini Witch Hat Pizzas to cool slightly on the baking sheet. This will make it easier to handle when serving.
How to Serve Mini Witch Hat Pizzas
Mini Witch Hat Pizzas can be served in a variety of ways. They are great as finger foods for parties. You can place them on a large platter for a fun presentation. These pizzas are best enjoyed warm, but they can also be served at room temperature. If you want to make it even more festive, pair them with a side of marinara sauce or ranch for dipping. This will add an extra layer of flavor, and guests can customize their experience.
Consider creating a themed meal. You could serve these witch hat pizzas alongside other spooky treats like ghost-shaped cookies or pumpkin soup, making your gathering even more memorable.
How to Store Mini Witch Hat Pizzas
If you have leftovers, storing Mini Witch Hat Pizzas is quite simple. Allow them to cool completely first. Once they have cooled, you can store them in an airtight container in the refrigerator. They should stay fresh for about 3 to 4 days.
To reheat, place the desired number of pizzas on a baking sheet and pop them in the oven for a few minutes (about 5-10 minutes at 350°F) until heated through. Alternatively, you can microwave them, but be aware that the crust may not stay as crispy.
If you want to make these pizzas in advance, you can prepare the witch hats, freeze them, and bake them straight from the freezer when needed. Just add a few extra minutes to the baking time.
Tips to Make Mini Witch Hat Pizzas
Here are some helpful tips to ensure your Mini Witch Hat Pizzas turn out perfectly:
-
Use parchment paper: Lining your baking sheet with parchment paper can help with easy cleanup and prevent sticking.
-
Experiment with toppings: Don’t be afraid to experiment with different toppings. Try adding cooked sausage, diced cooked chicken, or different types of cheese. The options are endless!
-
Make mini versions: For a fun twist, shrink the size of the triangles to make mini mini witch hats. These bite-sized pieces are perfect for appetizers.
-
Decorate creatively: You can use other toppings to decorate your hats. Consider using candy corn for a sweet treat on top!
-
Consider dietary restrictions: If you need to accommodate specific diets, look for gluten-free dough or dairy-free cheese alternatives.
Variation
You can easily adjust Mini Witch Hat Pizzas to suit your tastes or dietary needs. Here are a few variations you might consider:
-
Veggie witch hats: For a vegetarian option, you can load the pizzas with fresh vegetables—like zucchini, spinach, and bell peppers—while leaving off the meat.
-
Sweet witch hats: Instead of savory ingredients, consider making dessert versions using sweet toppings. Use Nutella instead of pizza sauce, sprinkle mini chocolate chips on top, and add fruit like banana slices or strawberries.
-
Flatbread alternative: Instead of crescent dough, you can use flatbreads for a different texture and flavor. This works great for a thinner pizza option.
FAQs
Can I make Mini Witch Hat Pizzas ahead of time?
Yes, you can prepare the ingredients ahead of time and assemble the pizzas when you are ready. You can also freeze them before baking. Just remember to add extra baking time if you bake them from frozen.
What other toppings can I use for these pizzas?
Feel free to get creative! You could use sliced peppers, onions, mushrooms, or any other toppings you enjoy. The fun part is customizing them to your liking!
Can I make these pizzas gluten-free?
Absolutely! You can use gluten-free pizza dough or crescent dough to make these Mini Witch Hat Pizzas suitable for a gluten-free diet.
How long do these pizzas last?
When stored properly in the fridge, Mini Witch Hat Pizzas can last for about 3 to 4 days. Be sure to keep them in an airtight container.
Can I reheat leftovers?
Yes, you can reheat leftovers by placing them in the oven or microwave. For the best texture, we recommend using the oven.
These Mini Witch Hat Pizzas make for a lovely meal or fun snack that anyone can enjoy. They bring out creativity and provide a tasty treat for occasions like Halloween. With simple directions and tools, you can create this spooky sensation in your kitchen. So grab your ingredients, roll out that dough, and have fun creating your mini witch hat pizzas!
PrintMini Witch Hat Pizzas

Delightful mini pizzas shaped like witch hats, perfect for Halloween gatherings or fun meals.
- Prep Time: 15 minutes
- Cook Time: 15 minutes
- Total Time: 30 minutes
- Yield: 4 servings
- Category: Appetizer
- Method: Baking
- Cuisine: American
- Diet: Vegetarian
Ingredients
- Crescent dough or pizza crust
- Pizza sauce
- Shredded cheese (mozzarella or preferred cheese)
- Black olives
- Pepperoni (cut into shapes if desired)
- Colorful veggies (bell peppers, mushrooms, spinach)
Instructions
- Preheat the oven according to the dough instructions.
- Roll out the crescent dough or pizza crust on a baking sheet.
- Cut the rolled-out dough into triangles resembling witch hats.
- Spread pizza sauce over each triangle.
- Sprinkle shredded cheese over the sauce-covered triangles.
- Add olives, pepperoni, and colorful veggies as toppings.
- Bake in the oven until the crust is golden and the cheese is melted.
- Allow to cool slightly before serving.
Notes
Use parchment paper for easy cleanup. Customize toppings to suit your taste.
Nutrition
- Serving Size: 2 pieces
- Calories: 250
- Sugar: 2g
- Sodium: 600mg
- Fat: 10g
- Saturated Fat: 4g
- Unsaturated Fat: 5g
- Trans Fat: 0g
- Carbohydrates: 30g
- Fiber: 2g
- Protein: 8g
- Cholesterol: 20mg