The Ultimate Guide to Making Chewy Chocolate Chip Cookies That Will Wow Everyone
There’s something truly magical about the aroma of chocolate chip cookies baking in the oven. It’s a scent that transports us back to childhood memories, kitchen adventures, and comforting moments. But not all chocolate chip cookies are created equal. Some are too cakey, others too crispy, and some just lack that perfect chewiness we all crave. After countless experiments in my kitchen, I’ve perfected what I believe to be the ultimate chewy chocolate chip cookie recipe.
The Secret to Perfect Chewy Chocolate Chip Cookies
What makes a chocolate chip cookie truly exceptional? It’s that beautiful combination of crisp edges giving way to a soft, chewy center that’s practically melting with chocolate goodness. The journey to this perfection taught me several crucial lessons that I’m excited to share with you today.
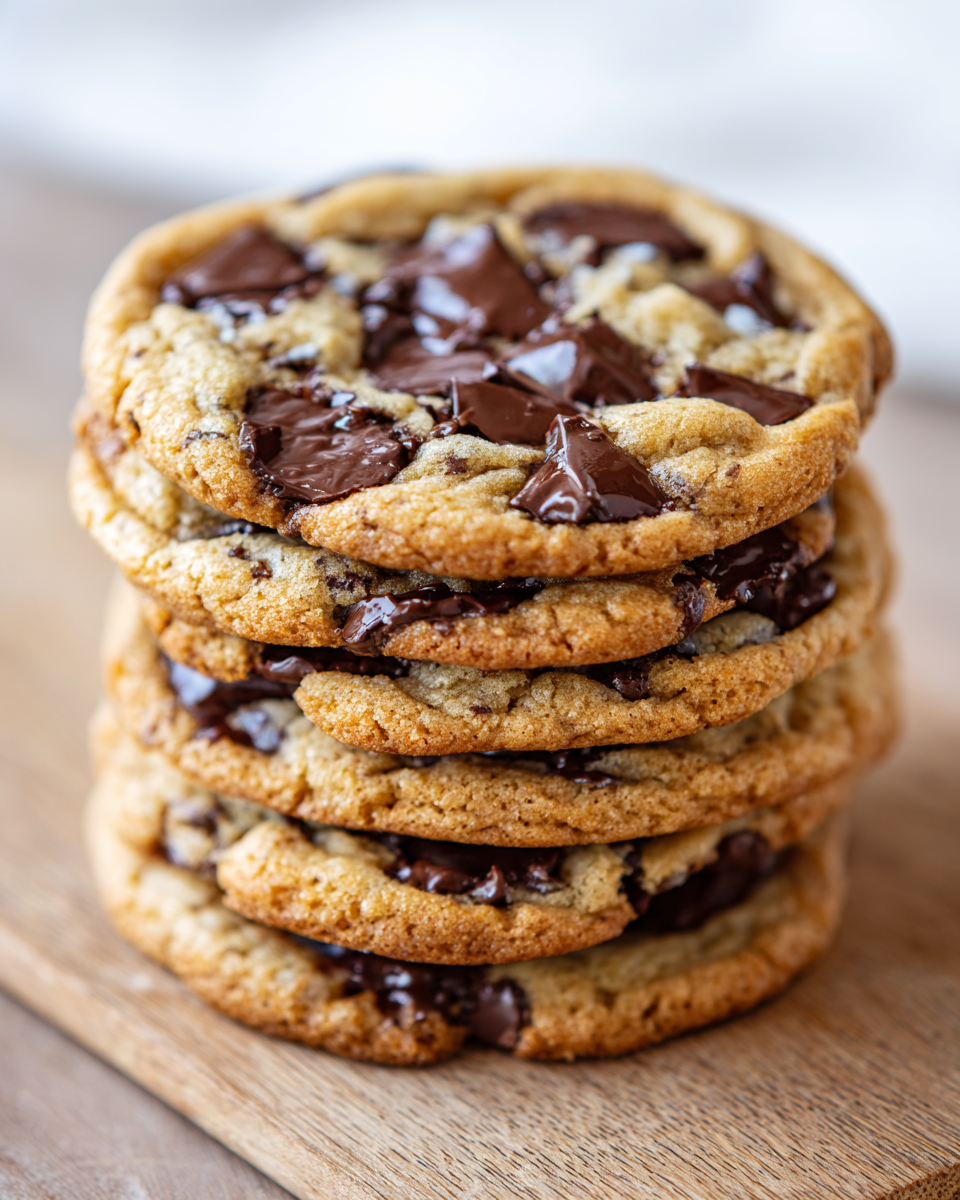
Why Chocolate Chunks Beat Chocolate Chips
My first breakthrough came when I swapped out traditional chocolate chips for chocolate chunks. While chips are convenient, they’re designed to hold their shape during baking. Chunks, on the other hand, melt more evenly, creating beautiful chocolate puddles throughout the cookie. Using a mix of semisweet, milk, and dark chocolate adds incredible depth of flavor that will make your taste buds dance with joy.
The Magic of Overnight Resting
I know, I know – waiting overnight sounds like torture when you’re craving cookies. But trust me, this single step transforms ordinary cookies into extraordinary ones. When the dough rests in the refrigerator, several magical things happen. The flour hydrates more completely, resulting in a more tender crumb. The flavors meld together, developing complex toffee notes that simply can’t be achieved with quick baking.
Gathering Your Ingredients for Cookie Perfection
The beauty of chocolate chip cookies lies in their simplicity. You likely have most of these ingredients in your pantry right now. Let’s talk about why each one matters.
Sugar Science: The Perfect Balance
The combination of granulated sugar and brown sugar is crucial for achieving that perfect chew. Granulated sugar gives crispiness to the edges, while brown sugar contributes moisture and chewiness thanks to its molasses content. Remember to pack that brown sugar firmly into your measuring cup for accurate results.
Butter: Melted vs Creamed
Using melted butter instead of creamed butter makes all the difference. Melted butter creates a denser, chewier cookie with more caramelization. The butter should be cooled slightly before mixing to prevent cooking the egg when you add it.
Flour Power: Measuring Matters
Accurate flour measurement is crucial. I recommend using the spoon-and-level method rather than scooping directly from the container. This prevents packing too much flour into your cookies, which would make them dry and cakey instead of soft and chewy.
Step-by-Step: Creating Cookie Magic
Now comes the fun part. Let me walk you through each step of creating these heavenly cookies.
Step 1: Creating the Sugar Paste
In your large mixing bowl, combine the granulated sugar, brown sugar, salt, and melted butter. Whisk vigorously until you achieve a smooth paste with no lumps remaining. This initial mixing creates the foundation for your cookies texture. The salt isn’t just for flavor – it enhances all the other flavors in the cookie.
Step 2: Incorporating Eggs and Vanilla
Add the egg and vanilla extract to your sugar mixture. Beat until light ribbons form and linger for a moment before sinking back into the bowl. This technique incorporates air into the mixture, contributing to a lighter texture while maintaining that essential chewiness.
Step 3: Gentle Flour Incorporation
Sift the flour and baking soda together before adding them to the wet ingredients. This ensures even distribution of the leavening agent. Now comes the critical part – gently folding with a spatula. Overmixing at this stage develops gluten, which would make your cookies tough rather than tender.
Step 4: Chocolate Chunk Heaven
Fold in your chocolate chunks gently. I love using a combination of milk chocolate for sweetness, semisweet for balance, and dark chocolate for depth. The variation in chocolate types creates pockets of different flavors that surprise and delight with every bite.
Step 5: The Patient Wait
Cover your bowl and chill the dough. While 30 minutes is the minimum, I strongly recommend the overnight option. When you wake up the next morning, you’ll be greeted with dough that has developed incredible flavor complexity. The wait is absolutely worth it.
Baking to Perfection
The baking process requires precision and patience. Here’s how to achieve that perfect golden brown finish.
Prepping Your Baking Sheet
Preheat your oven to 350°F and line your baking sheet with parchment paper. This prevents sticking and makes cleanup a breeze. Using an ice cream scoop ensures consistently sized cookies that bake evenly.
Spacing for Success
Leave at least 4 inches between cookies and 2 inches from the pan edges. These cookies spread beautifully, and giving them space prevents merging into one giant cookie. Though honestly, that might not be the worst problem to have.
The Golden Rule of Baking Time
Bake for 12-15 minutes, watching closely for that perfect moment when the edges just start to brown. The centers will look slightly underdone, but they’ll continue cooking on the hot baking sheet. This is the secret to achieving that gooey center we all love.
The Art of Cooling and Serving
Resist the temptation to dive in immediately. Let the cookies cool on the baking sheet for 5 minutes before transferring them to a wire rack. This allows them to set properly. The wait is agony, but biting into a perfectly cooled cookie is pure bliss.
Storage Tips for Freshness
Store cooled cookies in an airtight container at room temperature for up to 5 days. The dough can be frozen for up to 3 months – simply scoop onto a baking sheet, freeze solid, then transfer to a freezer bag. You’ll have ready-to-bake cookies whenever the craving strikes.
Why This Recipe Stands Out
What makes these chocolate chip cookies truly special isn’t just the ingredients or techniques. It’s the love and attention poured into each step. From selecting quality chocolate to patiently waiting for flavors to develop, every detail matters.
These cookies have become my go-to for celebrations, comfort days, and everything in between. They’re versatile enough for elegant dessert platters yet homey enough for after-school snacks. The combination of textures and flavors creates a cookie experience that’s memorable and deeply satisfying.
Final Thoughts on Cookie Mastery
Mastering the art of chewy chocolate chip cookies is a journey worth taking. Each batch teaches you something new about baking science and the magic that happens when simple ingredients come together with care and intention.
I encourage you to make this recipe your own. Experiment with different chocolate combinations, add a pinch of cinnamon or sea salt on top, or mix in some toasted walnuts for crunch. The foundation I’ve shared will guide you toward creating cookies that not only taste incredible but also carry the special touch that makes them uniquely yours.
Happy baking, and may your kitchen always be filled with the wonderful aroma of freshly baked cookies!
The Best Chewy Chocolate Chip Cookies
Ingredients
Equipment
Method
- In a large bowl, whisk together the sugars, salt, and butter until a paste forms with no lumps
- Whisk in the egg and vanilla, beating until light ribbons fall off the whisk and remain for a short while before falling back into the mixture
- Sift in the flour and baking soda, then fold the mixture with a spatula (Be careful not to overmix, which would cause the gluten in the flour to toughen resulting in cakier cookies)
- Fold in the chocolate chunks, then chill the dough for at least 30 minutes. For a more intense toffee-like flavor and deeper color, chill the dough overnight
- Preheat oven to 350°F (180°C). Line a baking sheet with parchment paper
- Scoop the dough with an ice-cream scoop onto a parchment paper-lined baking sheet, leaving at least 4 inches of space between cookies and 2 inches of space from the edges of the pan
- Bake for 12-15 minutes, until the edges have started to barely brown
- Cool completely before serving
- Enjoy!